How to turn shaders on in minecraft

Daniel Rodriguez
Updated on May 02, 2026
Most shaderpacks come in .zip formats, make a “shaderpacks” folder on .minecraft on your appdata (on Windows just put %appdata% on the file directory!) then put all your shaderpacks in there! 4. Turn it on!
There are other answers below:
How do I enable Shaders in Minecraft? Step 1: Launch Minecraft on your system and choose the ‘Optifine’ version. Step 2: Go to ‘Options’ and click on the ‘Video Settings. Step 3: Under ‘Video Settings,’ look for ‘Shaders’ and click on it. Where is the Shaders button in Minecraft? When you’re on the Minecraft main menu, click the ‘Options…’ button.
While playing, press the “Esc” key to pull up the Menu screen. 2. Just like how you added the shaders, select “Options…” then “Video Settings…” and “Shaders…”. 3. To change between shaders — you can only have one shader pack enabled at once — select the shader you’d like from the list of available options.
Once Minecraft is still open on the home screen, go to ¹ “ Options ” -> ² “ Video Settings ” -> ³ “ Shaders .”. You will see a window that contains all game settings for Shaders; in the lower-left corner, click on “ Shaders Folder “. Now you should put all Shaders you want to play in Minecraft in this folder.
Once you have launched your Minecraft, go to the O ptions>Video Settings>Shaders. There, you may see a message saying: Then you must turn off Fast Render. To do so, go to Options>Performance and set Fast Render to OFF. If you now move to the Shaders option, you will see an empty list. That is because you have no shader packs installed.
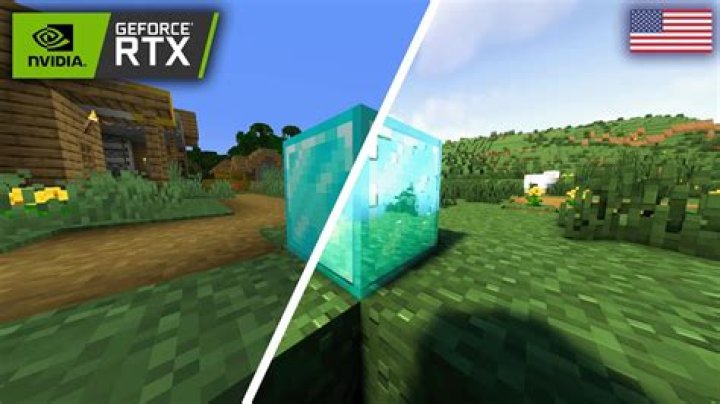
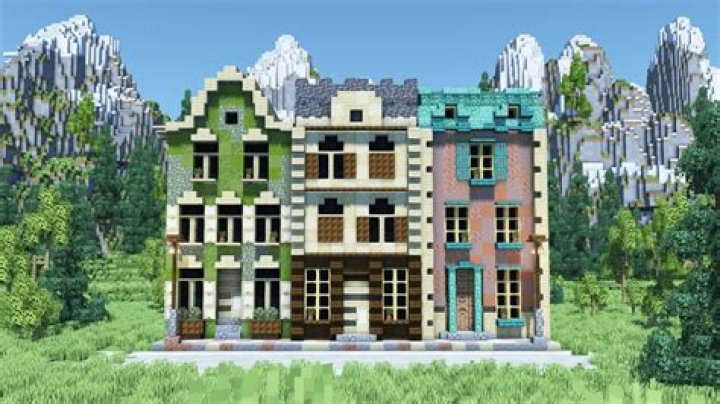
Open Minecraft and go to video settings. Select the shader. Load up a world and enjoy the beautiful lighting.
How to Install Shaders in Minecraft Bedrock Edition (QUICK AND EASIEST METHOD) – YouTube.
Click Active to make sure that the Minecraft shader has been added to your world. Change the options you want to modify and then click Create. After these steps, your Minecraft will be loaded with the shader that has been activated. Bottom Line. Now, you should know how to install Minecraft shader.
Select Video Settings and then select Shaders. Click on Shaders Folder. This will take you to a folder in the game installation directory. Paste the shader file that you downloaded in the previous section, in the Shaders Folder. Go back to the game. You’ll notice that your shader is now on the list. Click on the shader.
First, find the shaderpack you would like to enable/disable an effect. It is required that you extract all of the files from the zip folder before you start. From there, open the folder, open the shaders folder, and what you want to do is to find the file that your effect is in.
When you’re on the Minecraft main menu, click the ‘Options…’ button. Next, click the ‘Video Settings…’ button, and on the next page, click ‘Shaders…’.